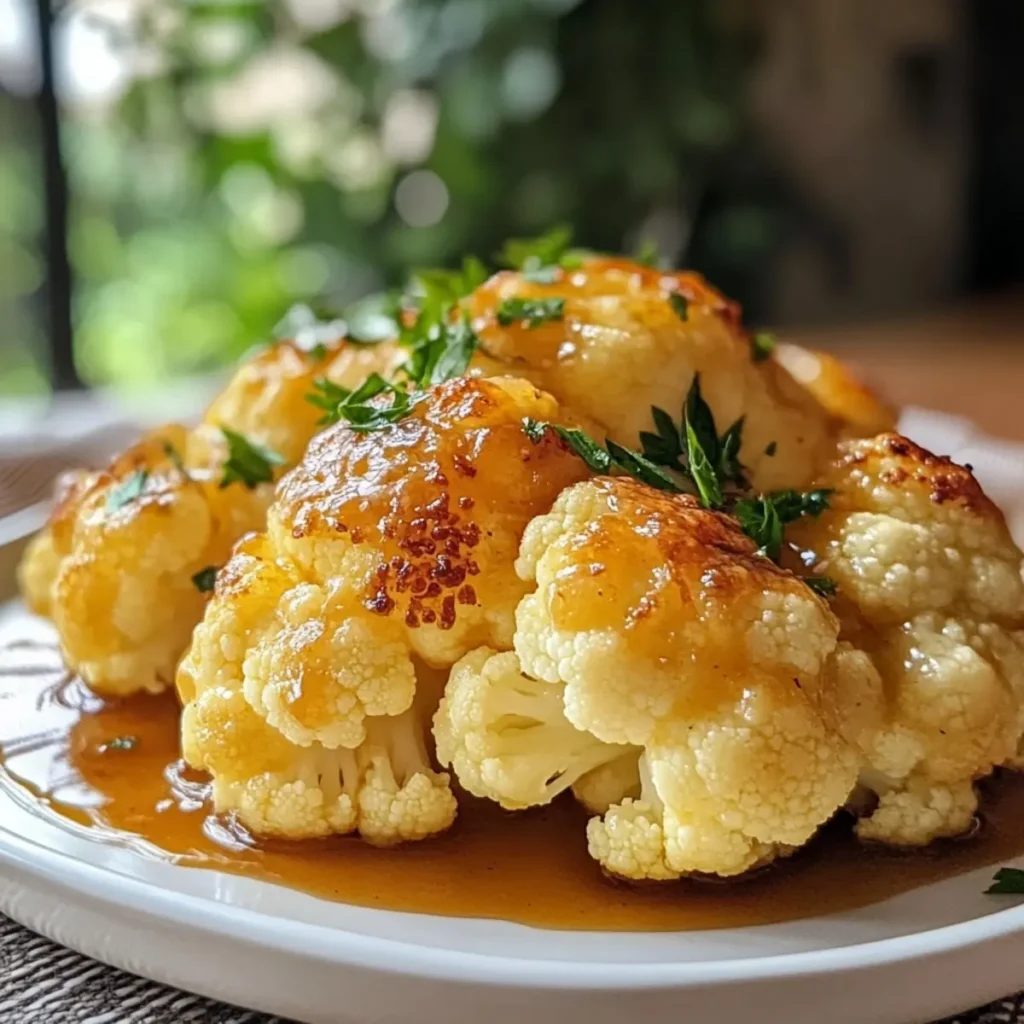
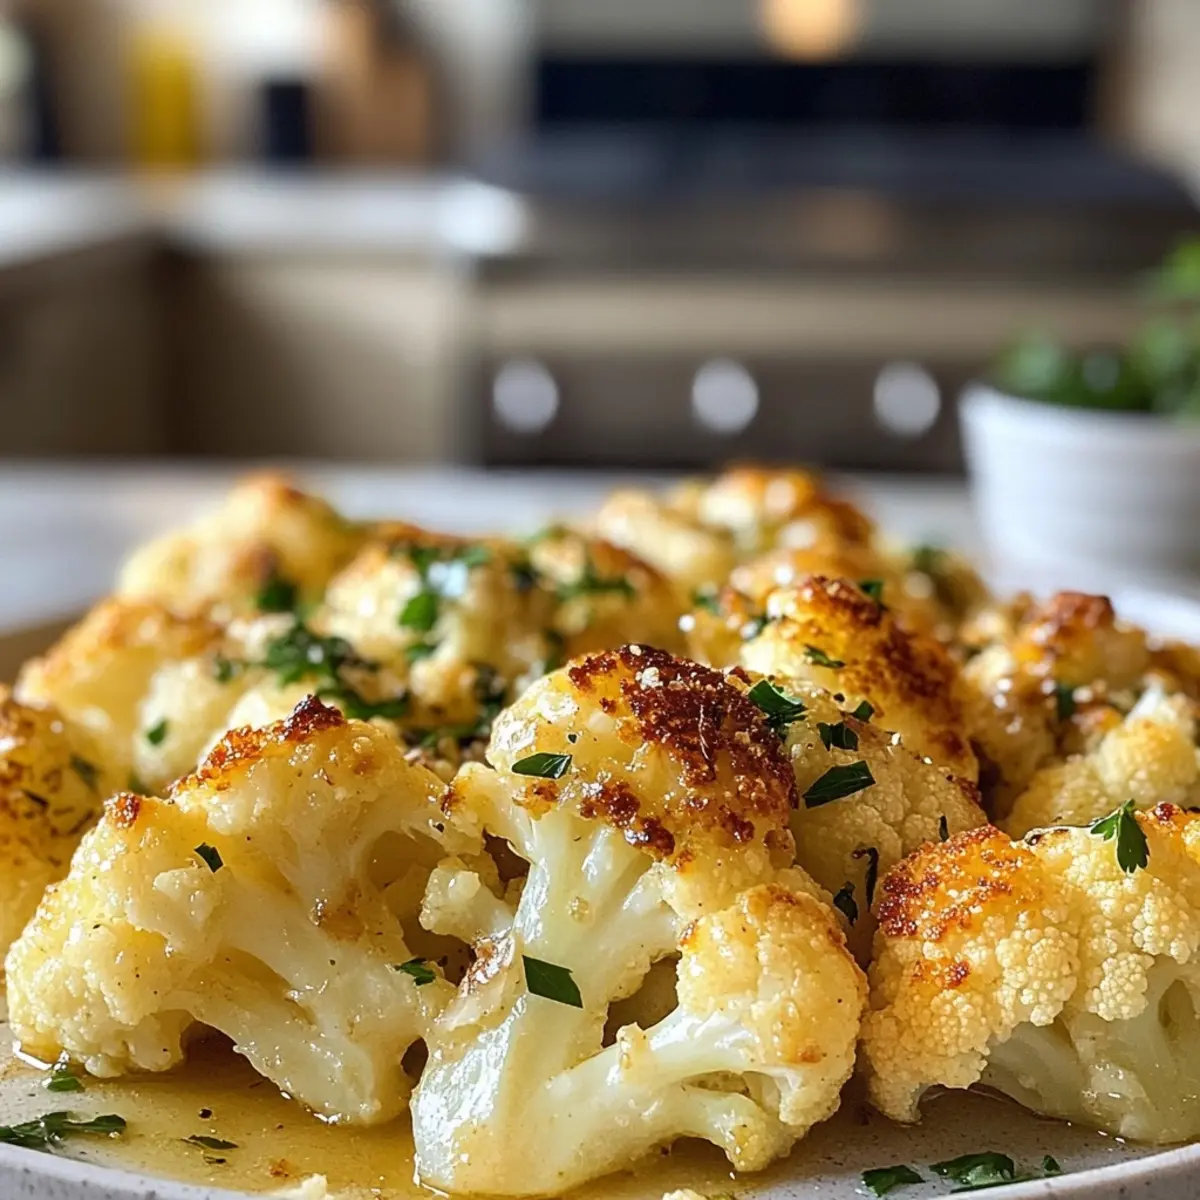
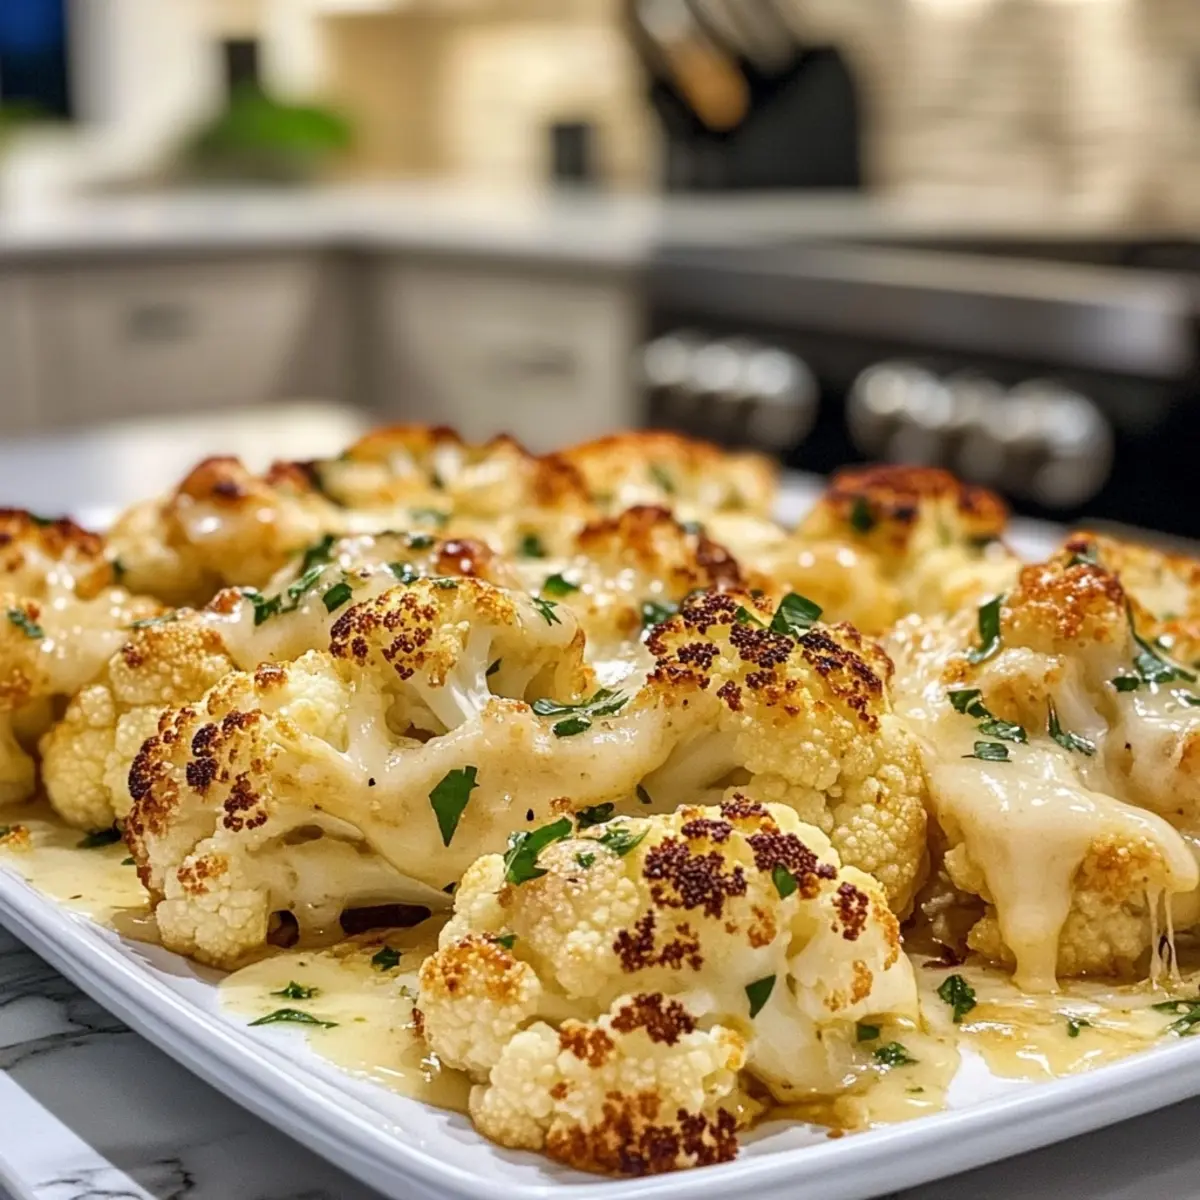
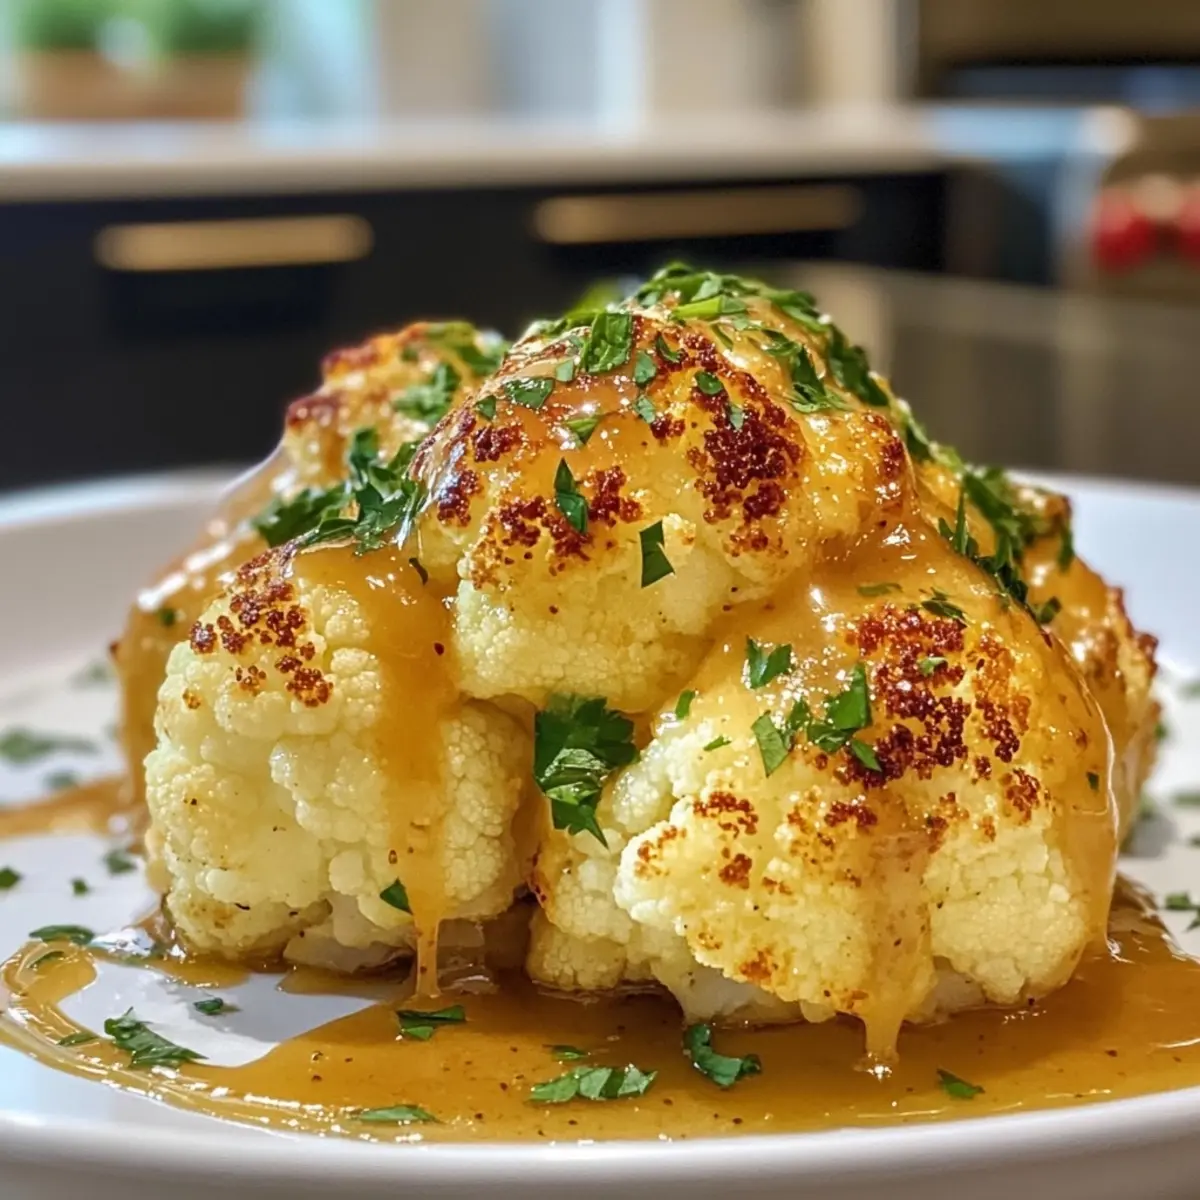
There’s something truly satisfying about biting into a golden, crispy piece of Baked Cauliflower—each crunch accompanied by a burst of flavor that leaves you wanting more. When I first decided to experiment with this humble vegetable, I was searching for a guilt-free side dish that wouldn’t leave me feeling deprived. Lo and behold, this recipe turned out to be a delight! Not only does it transform cauliflower into a snack-worthy treat, but it also aligns perfectly with healthy eating goals—gluten-free, low-calorie, and vegetarian.
Whether you’re whipping it up for a casual weeknight dinner or to impress guests at a gathering, this oven-baked wonder is bound to steal the spotlight. With easy-to-find ingredients and a quick prep time, it’s versatility and deliciousness make it a must-have in my kitchen. Plus, it’s a fantastic base for all kinds of seasonings, allowing you to tailor it to your taste. Trust me, once you try it, this crispy cauliflower will quickly become your go-to side dish!
Why is Baked Cauliflower a Must-Try?
Deliciously Crunchy: Every bite of this Baked Cauliflower offers an addictive crunch and savory flavor.
Quick and Easy: With just a few simple ingredients, you can transform a humble vegetable into a delightful side dish in under 30 minutes!
Customizable: Feel free to switch up the spices or toppings—taco seasoning or fresh herbs like parsley elevate this dish to new heights.
Healthy Alternative: Enjoy a guilt-free crunchy snack that’ll leave you satisfied without compromising your healthy eating goals.
Meal Prep Friendly: Perfect for busy days! Make a batch in advance and reheat in the oven for a quick side. Pair it with something like Baked Beans Comforting to complete your meal!
Baked Cauliflower Ingredients
• Here’s everything you need for a crispy delight!
For the Cauliflower
• Cauliflower Florets – The star of the dish, packed with vitamins and fiber for a nutritious boost.
For Coating
• Olive Oil – Essential for achieving a crispy texture; feel free to substitute with avocado oil for a different flavor.
• Salt – Adds essential flavor; tweak it to fit your taste or opt for low-sodium alternatives.
• Black Pepper – Provides a warm kick; always use freshly ground for best results.
• Garlic Powder – Infuses savory goodness; swap with fresh minced garlic if desired.
• Paprika – Infuses beautiful color and mild sweetness; smoked paprika can elevate the flavor profile.
Optional Toppings
• Parmesan Cheese – Sprinkle it on for a cheesy, savory crust; omit for dairy-free or try nutritional yeast instead for a similar taste.
Experiment and customize with these ingredients to make this Baked Cauliflower your own!
How to Make Baked Cauliflower
- Preheat oven
Begin by preheating your oven to 425°F (220°C). This high heat is essential for giving your cauliflower that enticing crispy texture. - Toss ingredients
In a large bowl, toss the cauliflower florets with olive oil, salt, pepper, garlic powder, and paprika. Make sure each floret is evenly coated for maximum flavor. - Prepare baking sheet
Line a baking sheet with parchment paper. Spread the seasoned cauliflower in a single layer, ensuring they don’t overlap to allow for even roasting. - Roast the cauliflower
Place the baking sheet in the oven and roast for 25–30 minutes. Flip the florets halfway through until they are crisp and golden brown. - Add cheese (optional)
If you’re using Parmesan cheese, sprinkle it over the cauliflower during the last 5 minutes of baking. This will create a delicious cheesy crust! - Serve warm
Remove from the oven and serve hot. Pair with a dip like ranch or garlic aioli for an extra layer of flavor that everyone will love.
Optional: Garnish with fresh herbs for a pop of color and taste.
Exact quantities are listed in the recipe card below.
Expert Tips for Baked Cauliflower
- Dry First: Ensure your cauliflower florets are completely dry after washing. Excess moisture can lead to steaming instead of achieving that desired crispiness.
- Avoid Overcrowding: Spread the cauliflower in a single layer on the baking sheet. Overlapping will cause uneven cooking, resulting in less crispy Baked Cauliflower.
- Experiment with Spices: Don’t be afraid to get creative! Adding spices like cumin or chili powder can give your baked cauliflower an exciting twist.
- Timing is Key: Keep an eye on the baking time. Each oven is different, and you want to catch them just as they turn golden and crisp, not burnt.
- Storing Leftovers: For meal prep enthusiasts, store any leftover baked cauliflower in an airtight container in the fridge. Reheat in the oven to restore their delightful crunch.
What to Serve with Crispy Oven-Baked Cauliflower?
Looking to create a scrumptious meal around your crispy side dish? Here are some perfect pairings to elevate your dining experience.
- Grilled Chicken: Juicy and smoky, grilled chicken complements the light crunch of cauliflower and adds protein to your plate.
- Lemon Herb Quinoa: The bright, zesty taste of lemon herb quinoa not only provides a fantastic texture but also balances the savory notes of baked cauliflower.
- Roasted Cherry Tomatoes: Sweet, caramelized roasted cherry tomatoes offer a fresh burst of flavor that harmonizes beautifully with every bite of cauliflower.
- Creamy Avocado Dip: This luscious, creamy dip adds a rich contrast to the crispy texture of your baked cauliflower, making it a delightful snack!
- Crisp Salad: A refreshing mix of greens with a light vinaigrette brings bright flavors to the meal, enhancing the baked cauliflower’s savory profile.
- Sparkling Water with Lime: For a refreshing drink, the zing of lime in sparkling water is a delightful complement, accentuating the dish’s flavors without overpowering them.
Imagine a table filled with these pairings, turning a simple side into a vibrant and satisfying meal!
How to Store and Freeze Baked Cauliflower
Fridge: Store leftover Baked Cauliflower in an airtight container for up to 4 days. Allow it to cool completely before sealing to maintain freshness.
Freezer: For longer storage, freeze baked cauliflower by placing it in a single layer on a baking sheet until solid, then transfer to airtight bags. Enjoy within 2 months for best quality.
Reheating: To reclaim that crispy texture, reheat in the oven at 375°F (190°C) for about 10 minutes. Avoid microwaving as it can make the cauliflower soggy.
Meal Prep Tip: This dish is perfect for meal prep! Cook a batch at the beginning of the week and store in the fridge to enjoy as a healthy side all week long.
Baked Cauliflower Variations
Explore the delightful ways you can adapt this Baked Cauliflower recipe to match your flavor cravings and dietary needs!
- Dairy-Free: Omit Parmesan cheese and use nutritional yeast for that cheesy taste without dairy. It’s just as satisfying and perfect for plant-based diets.
- Spicy Kick: Add a dash of cayenne pepper or red pepper flakes to the seasoning mix for a fiery twist that will wake up your taste buds. Just a little heat can make a big difference!
- Herb-Infused: Toss in fresh herbs like rosemary, thyme, or oregano right before baking for an aromatic bouquet of flavors that complement the cauliflower beautifully. It elevates the dish in an instant.
- Smoky Flavor: Swap regular paprika for smoked paprika or add a drizzle of liquid smoke to the olive oil mixture to infuse a deep, smoky flavor into every bite. This twist is perfect for BBQ lovers!
- Nutty Texture: Sprinkle chopped nuts, like almonds or pecans, over the cauliflower during the last 10 minutes of baking for added crunch and a delightful nutty flavor. Nuts can add both texture and nutrition!
- Asian Fusion: Drizzle with soy sauce or tamari, and add sesame seeds before serving for a deliciously unique twist that brings Asian flavors to your oven-baked delight. It’s amazing how a little change can transport your taste buds!
- Crispy Cheesy: Combine Parmesan cheese with breadcrumbs and sprinkle it on top during the last few minutes of baking for a crispy, golden crust that’s irresistible. It’s the ultimate upgrade for cheese lovers!
- Vegetable Medley: Mix in or substitute other veggies like broccoli or bell peppers alongside cauliflower for a colorful, nutritious addition that boosts both flavor and health benefits. A great way to pack in more veggies!
Baked Cauliflower Recipe FAQs
How do I choose the best cauliflower for baking?
Absolutely! Look for cauliflower heads that are firm, with tight, white florets and no dark spots. The leaves should be fresh, green, and not wilted. Fresh cauliflower will yield a better texture when baked, providing that delightful crisp.
How long can I store leftover baked cauliflower?
Baked cauliflower can be stored in an airtight container in the fridge for up to 4 days. Be sure to let it cool completely before sealing to maintain freshness and prevent sogginess when reheating.
Can I freeze baked cauliflower?
Yes, you can absolutely freeze baked cauliflower! First, arrange the florets in a single layer on a baking sheet and freeze until solid, which usually takes about 2 hours. Then, transfer them to an airtight freezer bag. Enjoy within 2 months for the best quality! When you’re ready to eat, reheat in the oven to restore that wonderful crunch.
What if my baked cauliflower is soggy?
If your baked cauliflower turns out soggy, it could be due to excess moisture before baking. Always make sure the florets are completely dry. If you encounter sogginess after baking, try reheating in the oven at a higher temperature, around 425°F (220°C), for about 10 minutes to crisp them back up.
Is baked cauliflower safe for pets?
Very! Cauliflower is safe for dogs and cats in moderation. However, be cautious about seasoning, particularly salt and garlic, as these can be harmful to pets. Always serve plain, without any added ingredients.
What are some variations I can try?
Feel free to get creative with the spices! Try adding Italian seasoning, chili powder, or even curry powder for a unique twist. Fresh herbs can also enhance flavor—adding parsley or basil after baking brings a pop of freshness. The more the merrier!

Crispy Baked Cauliflower: A Guilt-Free Flavor Explosion
Equipment
- Oven
- Baking Sheet
- Parchment Paper
- large bowl
Ingredients
For the Cauliflower
- 1 head Cauliflower Florets The star of the dish, packed with vitamins and fiber.
For Coating
- 2 tablespoons Olive Oil Essential for crispy texture; avocado oil can be substituted.
- 1 teaspoon Salt Adjust to taste; low-sodium alternatives can be used.
- 1 teaspoon Black Pepper Use freshly ground for best flavor.
- 1 teaspoon Garlic Powder Can be swapped with fresh minced garlic.
- 1 teaspoon Paprika Smoked paprika can enhance the flavor.
Optional Toppings
- 1/4 cup Parmesan Cheese Sprinkle for a cheesy crust; omit for dairy-free.
Instructions
Main Instructions
- Preheat your oven to 425°F (220°C) for a crispy texture.
- In a large bowl, toss the cauliflower florets with olive oil, salt, pepper, garlic powder, and paprika.
- Line a baking sheet with parchment paper and spread the seasoned cauliflower in a single layer.
- Roast in the oven for 25–30 minutes, flipping halfway through until golden brown.
- If using Parmesan cheese, sprinkle over cauliflower during the last 5 minutes of baking.
- Remove from the oven and serve warm, optionally paired with a dip.
Notes